Recently in Angular CLI v8.3.0 ng deploy command is introduced.
ng deployexecutes the deploy CLI builder associated with your project. A number of third-party builders implement deployment capabilities to different platforms. You can add any of them to your project by runningng add [package name].When you add a package with deployment capability, it’ll automatically update your workspace configuration (
angular.jsonfile) with a deploy section for the selected project. You can then use theng deploycommand to deploy that project.– from Angular Docs
Currently, following packages (CLI builders) available which implement deployment functionality to different platforms.
In this article you will see how to deploy angular application to netlify directly from angular cli using @netlify-builder/deploy.
So let’s start.
Refer Angular application deployment article for current application deployment process.
Deployment to Netlify directly from Angular CLI 🚀
You will need a Netlify personal access token and Site ID to deploy your application to netlify. So lets first see where you will get Netlify personal access token and Site ID.
Get Personal Access Token
Personal access token gives you the ability to communicate with netlify over API. This will help you in pushing the code on Netlify.
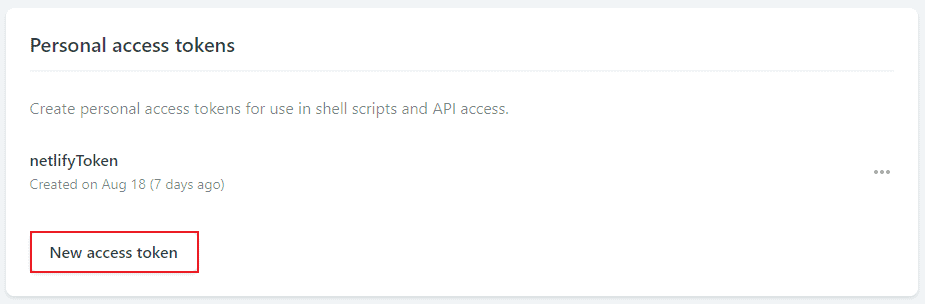
To generate netlify personal access token, log in to netlify account and click here or Go to User Settings > Application > Personal Access Tokens.
Now click on New access token to generate personal access token. Copy that generated token for your reference. We will use this token in netlify deployment configuration.
Get Site ID
For the initial deployment, you have to create a site in netlify to get site id. If you have already created a site in netlify, then skip the below first step.
- Create a New Site :
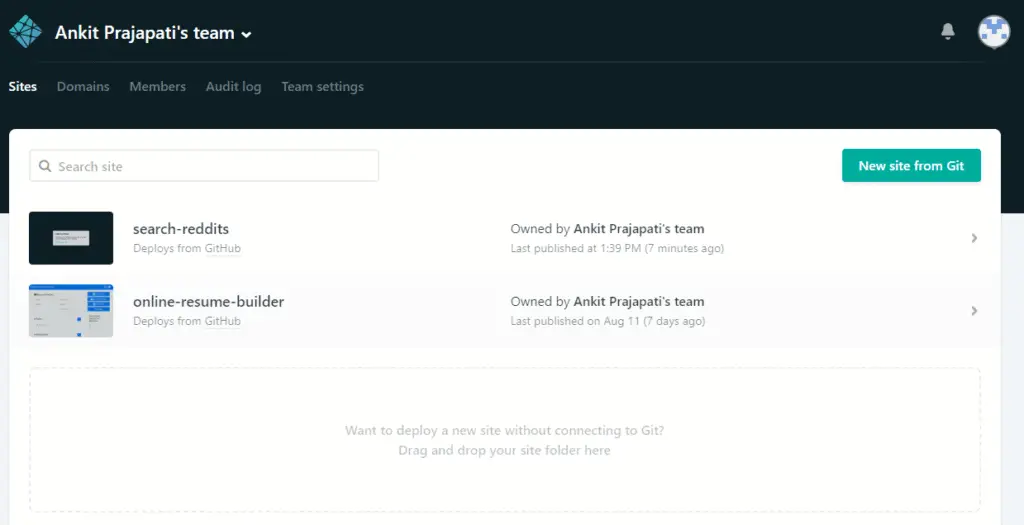
On Netlify dashboard: Click on Create a New Site from Git button, on click of this it will ask you to connect to git provider (GitHub/GitLab/BitBucket).
It will ask for the login in your account. On successfully log in, it will ask to Pick the repository. Select the repository which you want to deploy on netlify.
Next step is setting build and publish command. You can keep it as a blank. because we will deploy our application using @netlify-builder/deploy
Now click the Deploy Site button.
This will create a new site in netlify and give you the site URL.
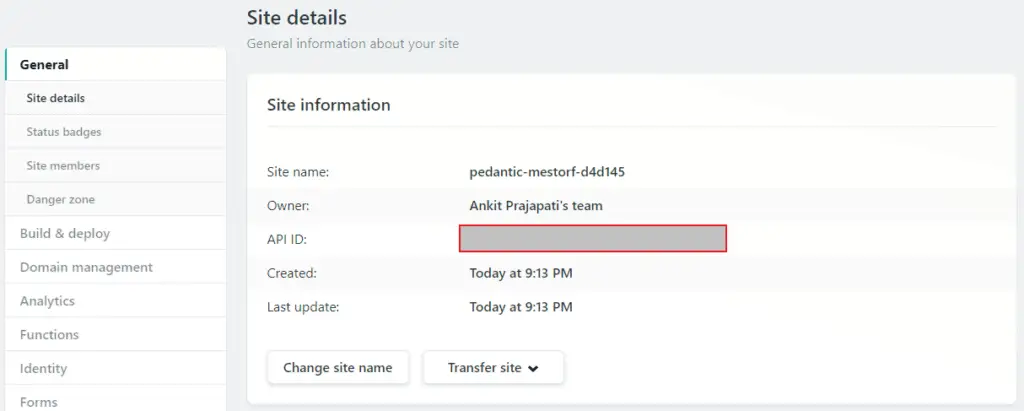
2. Get Site ID (API ID) :
Once your site is created in netlify, Go into the Site > Site Settings > Site Details
Here you will see API ID, which is also known as Site ID.
Now we have Netlify Personal Access Token and Site ID.
Next step is to set Netlify personal access token and site id as an environment variable.
- Important
We can also add netlify token (personal access token) and site id directly in angular.json file as below, but sharing netlify token is not secure.
If we put it in angular.json it will get committed in Git repository which will give you Netlify API exposed warning from Git Guardian.
So we will set netlify token and site id as an environment variable.
"deploy": {
         "builder": "@netlify-builder/deploy:deploy",
         "options": {
           "outputPath": "dist/project-name",
           "netlifyToken": "6c5ba06cd1147458ec21c4f86c556b041fb7bb6f3155cb5033d98baaaaaaaaa",
           "siteId": "59367bec-aaaa-aaaa-a847-680793813731"
         }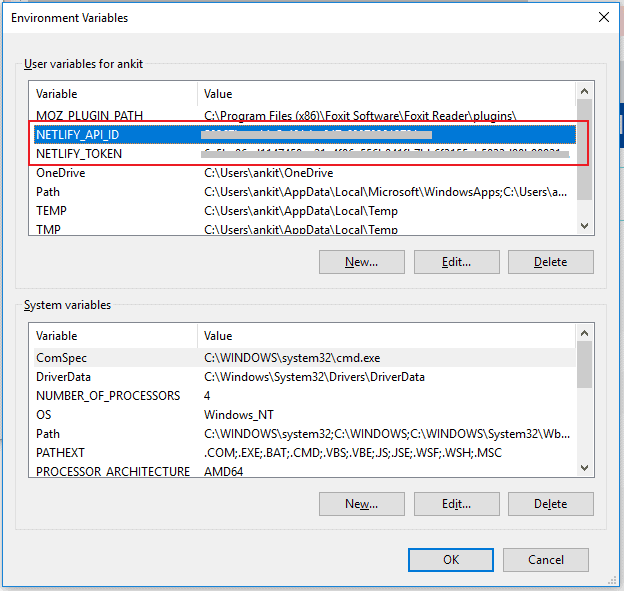
} In Windows system : Open the Environment Variables Popup as below and set
NETLIFY_API_ID = Enter Site ID here
NETLIFY_TOKEN = Enter Personal Access Token here
Once environment variable setting is done, We just need to execute two commands.
Now add @netlify-builder/deploy package using below command.
ng add @netlify-builder/deploy
This will download the @netlify-builder/deploy (CLI builder) package and, update the package.json
Once the package is installed it will ask for the Netlify Token and Site ID. You can specify the netlify token and site id here but we have already set it in environment variables. So just press enter here. which will keep both netlify token and site id as blank in angular.json file. as shown below
"deploy": {
         "builder": "@netlify-builder/deploy:deploy",
         "options": {
           "outputPath": "dist/project-name",
           "netlifyToken": "",
           "siteId": ""
         }
       }
Deploy to Netlify
Execute the below command to deploy your project on netlify. This will make the production build of your application and deploy it on netlify.
Bravo !!! Your application is live 🚀 on netlify, you will get a live application URL at the end, click on that and test your deployed application.
Refer below GIF for sample application deployment.
ng run [project-name]:deploy

- Note
If you have installed the Angular vCLI 8.3.0 then just execute the ng deploy. This will internally run above command.