The Electronic-Shop tutorial covers the fundamentals of Angular. In this tutorial, we will build an application that helps for the basic functionality of Electronic Shop.
This basic app has many of the features you’d expect to find in a data-driven application.
It acquires and displays a list of products, add or remove the product, and navigates among different views of product data.
By the end of the tutorial you will be able to do the following:
Use built-in Angular directives to show and hide elements and display lists of product data.
Create Angular components to display product details and show an array of products.
Use one-way data binding for read-only data.
Bind component methods to user events, like clicks.
Enable users to select a product from a master list and display the details view.
Format data with pipes.
Use routing to navigate among different views and their components.
You’ll learn enough Angular to get started and gain confidence that Angular can do whatever you need it to do.
After completing all tutorial steps, our final app will look like as below.
Here’s a visual idea of where this tutorial leads, beginning with the “Dashboard” view.
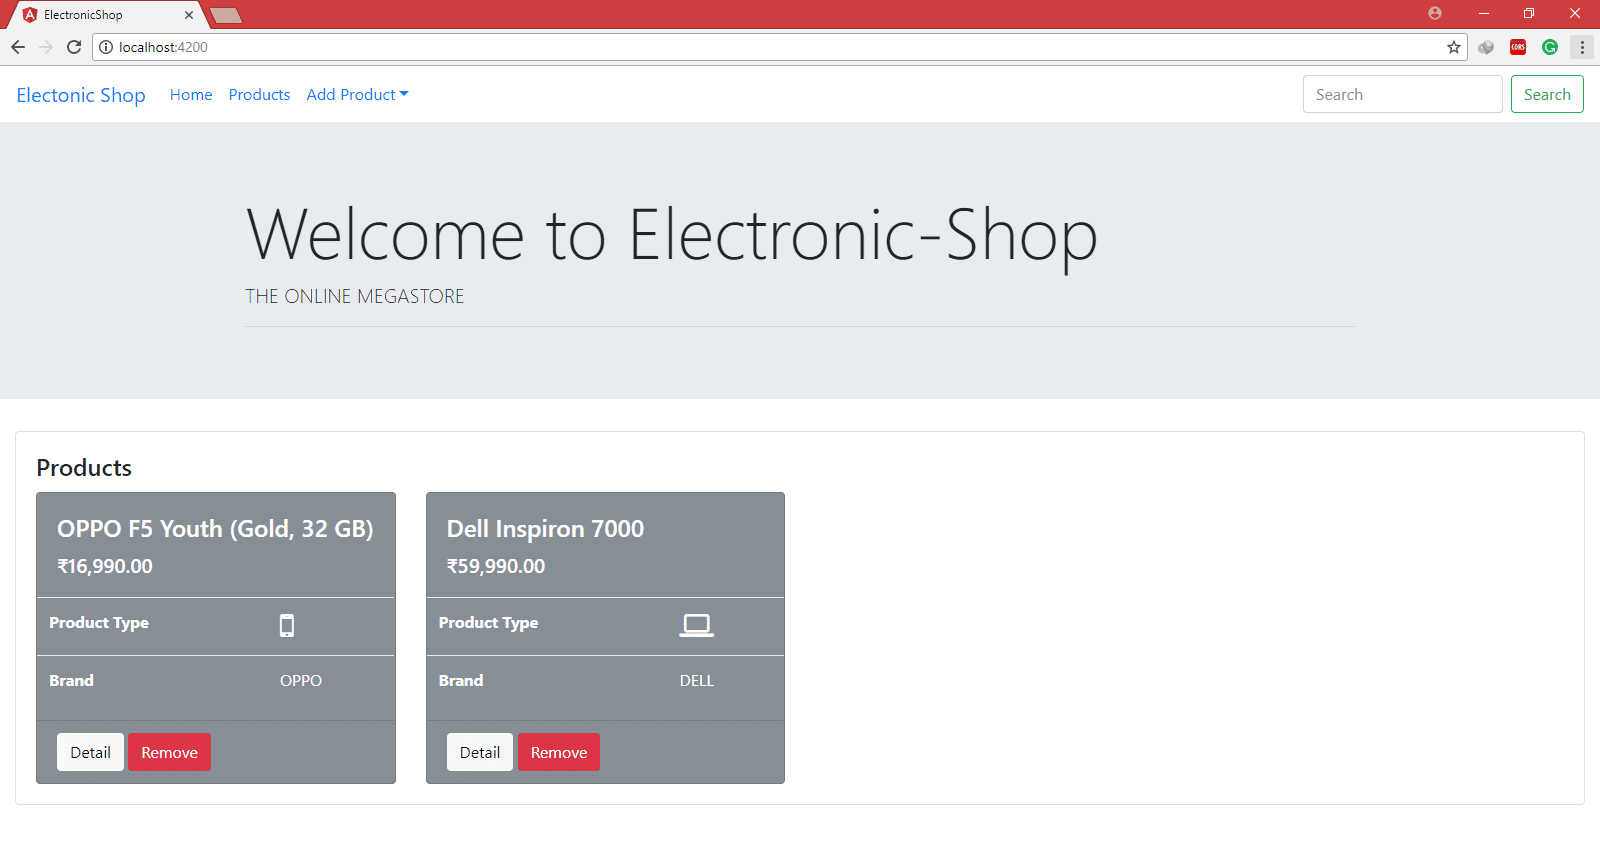
Dashboard
We will display Navigation bar, a large welcome message with the tagline and the list of products available in the shop.
Once you click on the navigation bar you can navigate into related view.
Add Product menu has two submenus for Add Product using Model Driven Forms and Template Driven Forms.
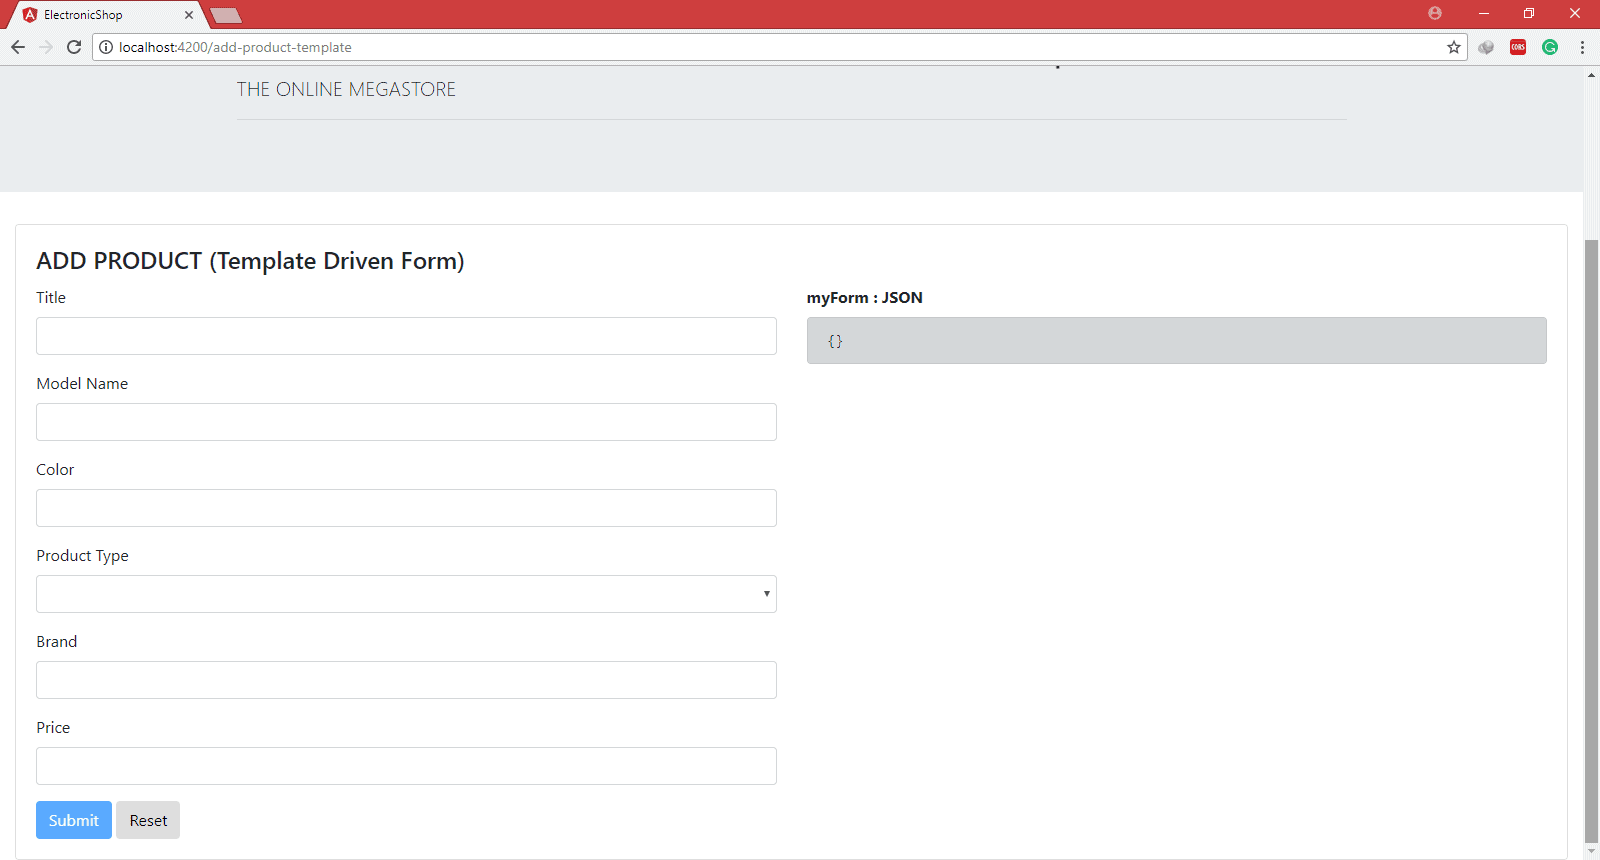
Add Product using Template Driven Forms
In this form, we will validate the user input using form validation and then submit it. Once a product is submitted successfully we will navigate to the Dashboard (Products) View. We will also add the reset form feature.
This same thing we will do using the model-driven forms.
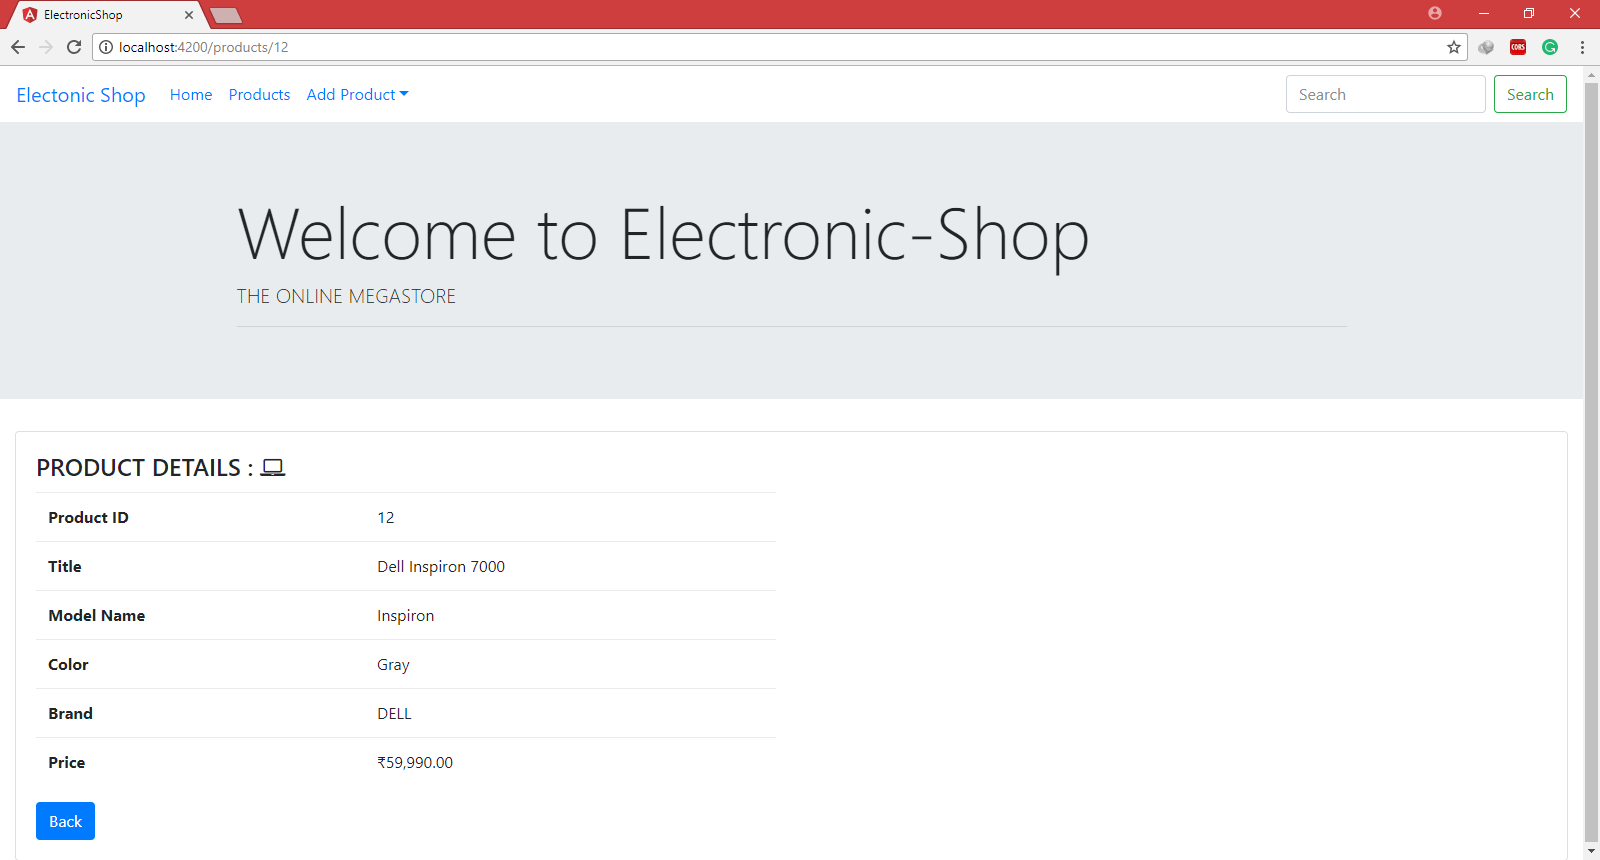
From the Dashboard, we can navigate to the product details view.
Product Details
We will add the back button on product details view. so that we can navigate back to the previous view.
On Dashboard, we will add the remove product feature.
Initially, we will build this features with the dummy mock data, later on, we will get the data from remote server.