
Get Started
There are different ways to start with angular application development. Like,
- Scratch Development(By Generating each file manually).
- Using quickstart dummy project code. (contains a structure with all configuration set).
- By Using Angular CLI.
You can create each file manually, like package.json , app.component.ts, app.module.ts etc.
But it takes more time and also need to remember each thing, which is not a practical. So instead of creating each file manually, we can download the quickstart seed or by using Angular CLI we can generate a new project.
You can download quickstart from here.
And then you can add different components and modules which are required for your application.
Good tools make application development quicker and easier to maintain than manual writing.
The Angular CLI is a command line interface tool that can create a project, add files, and perform a variety of ongoing development tasks such as testing, bundling, and deployment.
Angular CLI is the most preferred way to develop an angular application quickly and easily,
So we will go with Angular CLI.
Let’s start Step By Step…
So before you start with application development. You need to setup your environment.
Install NodeJS with npm. If it is not installed on your machine.
You can download it from here
Verify that you are running at least node 6.9.x and npm 3.x.x by running node -v and npm -v in a terminal/console window. Older versions produce errors, but newer versions are fine.
Then install the Angular CLI globally.
npm install -g @angular/cli
- Important
Above command installs the latest version of Angular CLI. currently, it is Angular CLI 6.x which generates Angular 6 Project.
During the Tutorial development, I was using Angular CLI 1.5.4 for Angular 5 Project, If you want to build project in Angular 5 then install Angular CLI 1.7.0 or > 1.5.0 using below command.
npm install -g @angular/[email protected]
Note: Angular CLI 6 Project structure is slightly changed, but it is not much changed in development. you can go ahead with the latest version of Angular CLI to use the latest Angular CLI 6 features with Angular 6.
This tutorial works in both the Angular 5 and Angular 6.
Note :
If you are developing an angular application in an organization machine, It might be behind the proxy. So you need to set the proxy in npm. Refer Npm Proxy Setting Post.
Once it is installed. You can check the version of Angular CLI by running following command.
ng -v
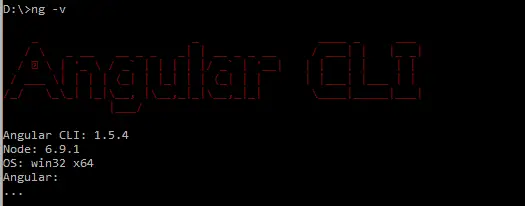
as you can see ng -v command will show the Angular CLI version no., Node version and OS type
Open a Command Prompt or Terminal window.
Generate a new project and skeleton application by running the following command.
ng new <app-name>
here is the name of your application.
For example, ng new my-app
Patience, please. It takes time to set up a new project, most of it spent installing npm packages. It depends on your internet speed
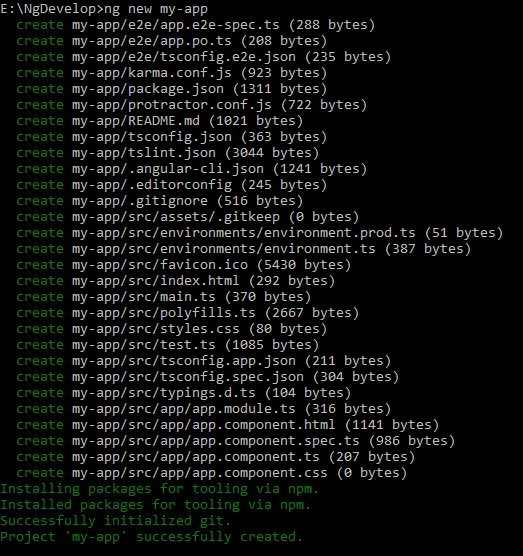
As you see, This command installs node modules automatically. you can also install node modules (dependencies) manually by running following command in the my-app (project)directory.
npm install
Once it was done. You need to serve the application
Go to the project directory and launch the server.
cd my-app
ng serve – – open
The ng serve command launches the server, watches your files, and rebuilds the app as you make changes to those files.
Using the –open (or just -o) option will automatically open your browser on http://localhost:4200/.
ng serve will serve the application default on 4200 . if this port is already in use you need to serve application on different port by using following command
ng serve –port 3000
this will run the application on port 3000 , in browser navigate on http://localhost:3000/
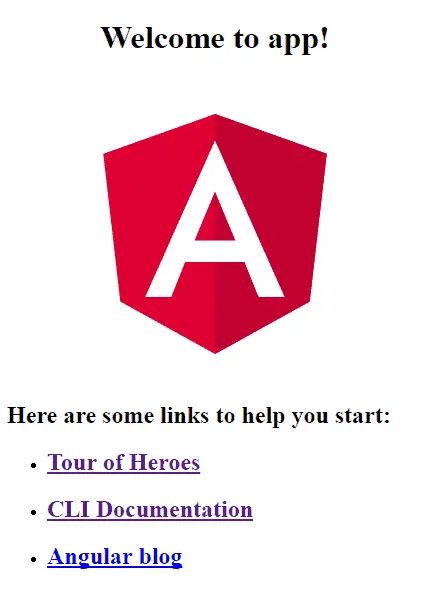
your app will show the output on browser as below.
For editing purpose you can use any editor like Visual Studio Code, Webstorm, Sublime Text Editor or also you can use Notepad or Notpad++.
But I generally prefer Visual Studio Code. Because it is easy to use, it provides different features like Intellisence , Debugging, Built in GIT, and extensions which you can download based on your requirement.
Read here Popular VSCode Extensions for Angular Development
Now open VSCode editor and open the our project folder .
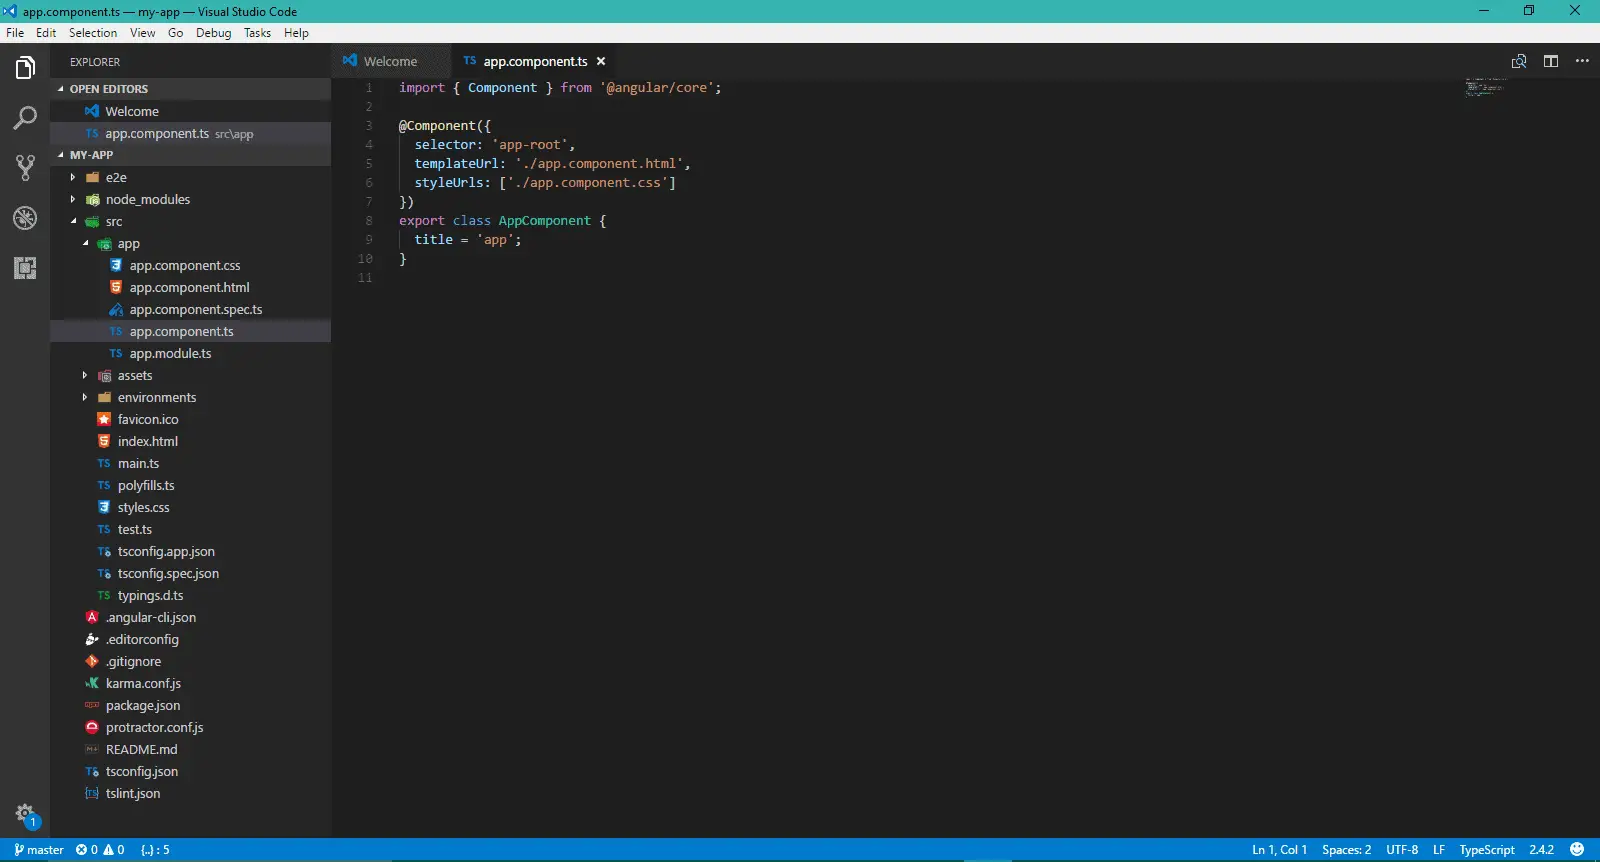
As you see, Angular CLI generates given project files with one app.component.ts, app.module.ts, app.component.html and app.component.css
The Default
app.component.tsis the root component, and it is named asapp-root
you can find root component in ./src/app/app.component.ts
Once you find app.component.ts , change the title property from app to Angular App!
Angular compile the code at the same time and you will get the result on browser window. No need to refresh the page.
As you can see, Title of the page is changed.
This is all you can expect in the ‘Hello World’ application.
We have seen, Installation of NPM and Angular CLI, Generating New Angular Project, after generating project we have served the application and at last, we have changed one property of root component.
In the further tutorial, we will see the purpose of each file in the project.